Don’t miss new content! Follow me:
Introduction
Why make Pixel Art cubes?
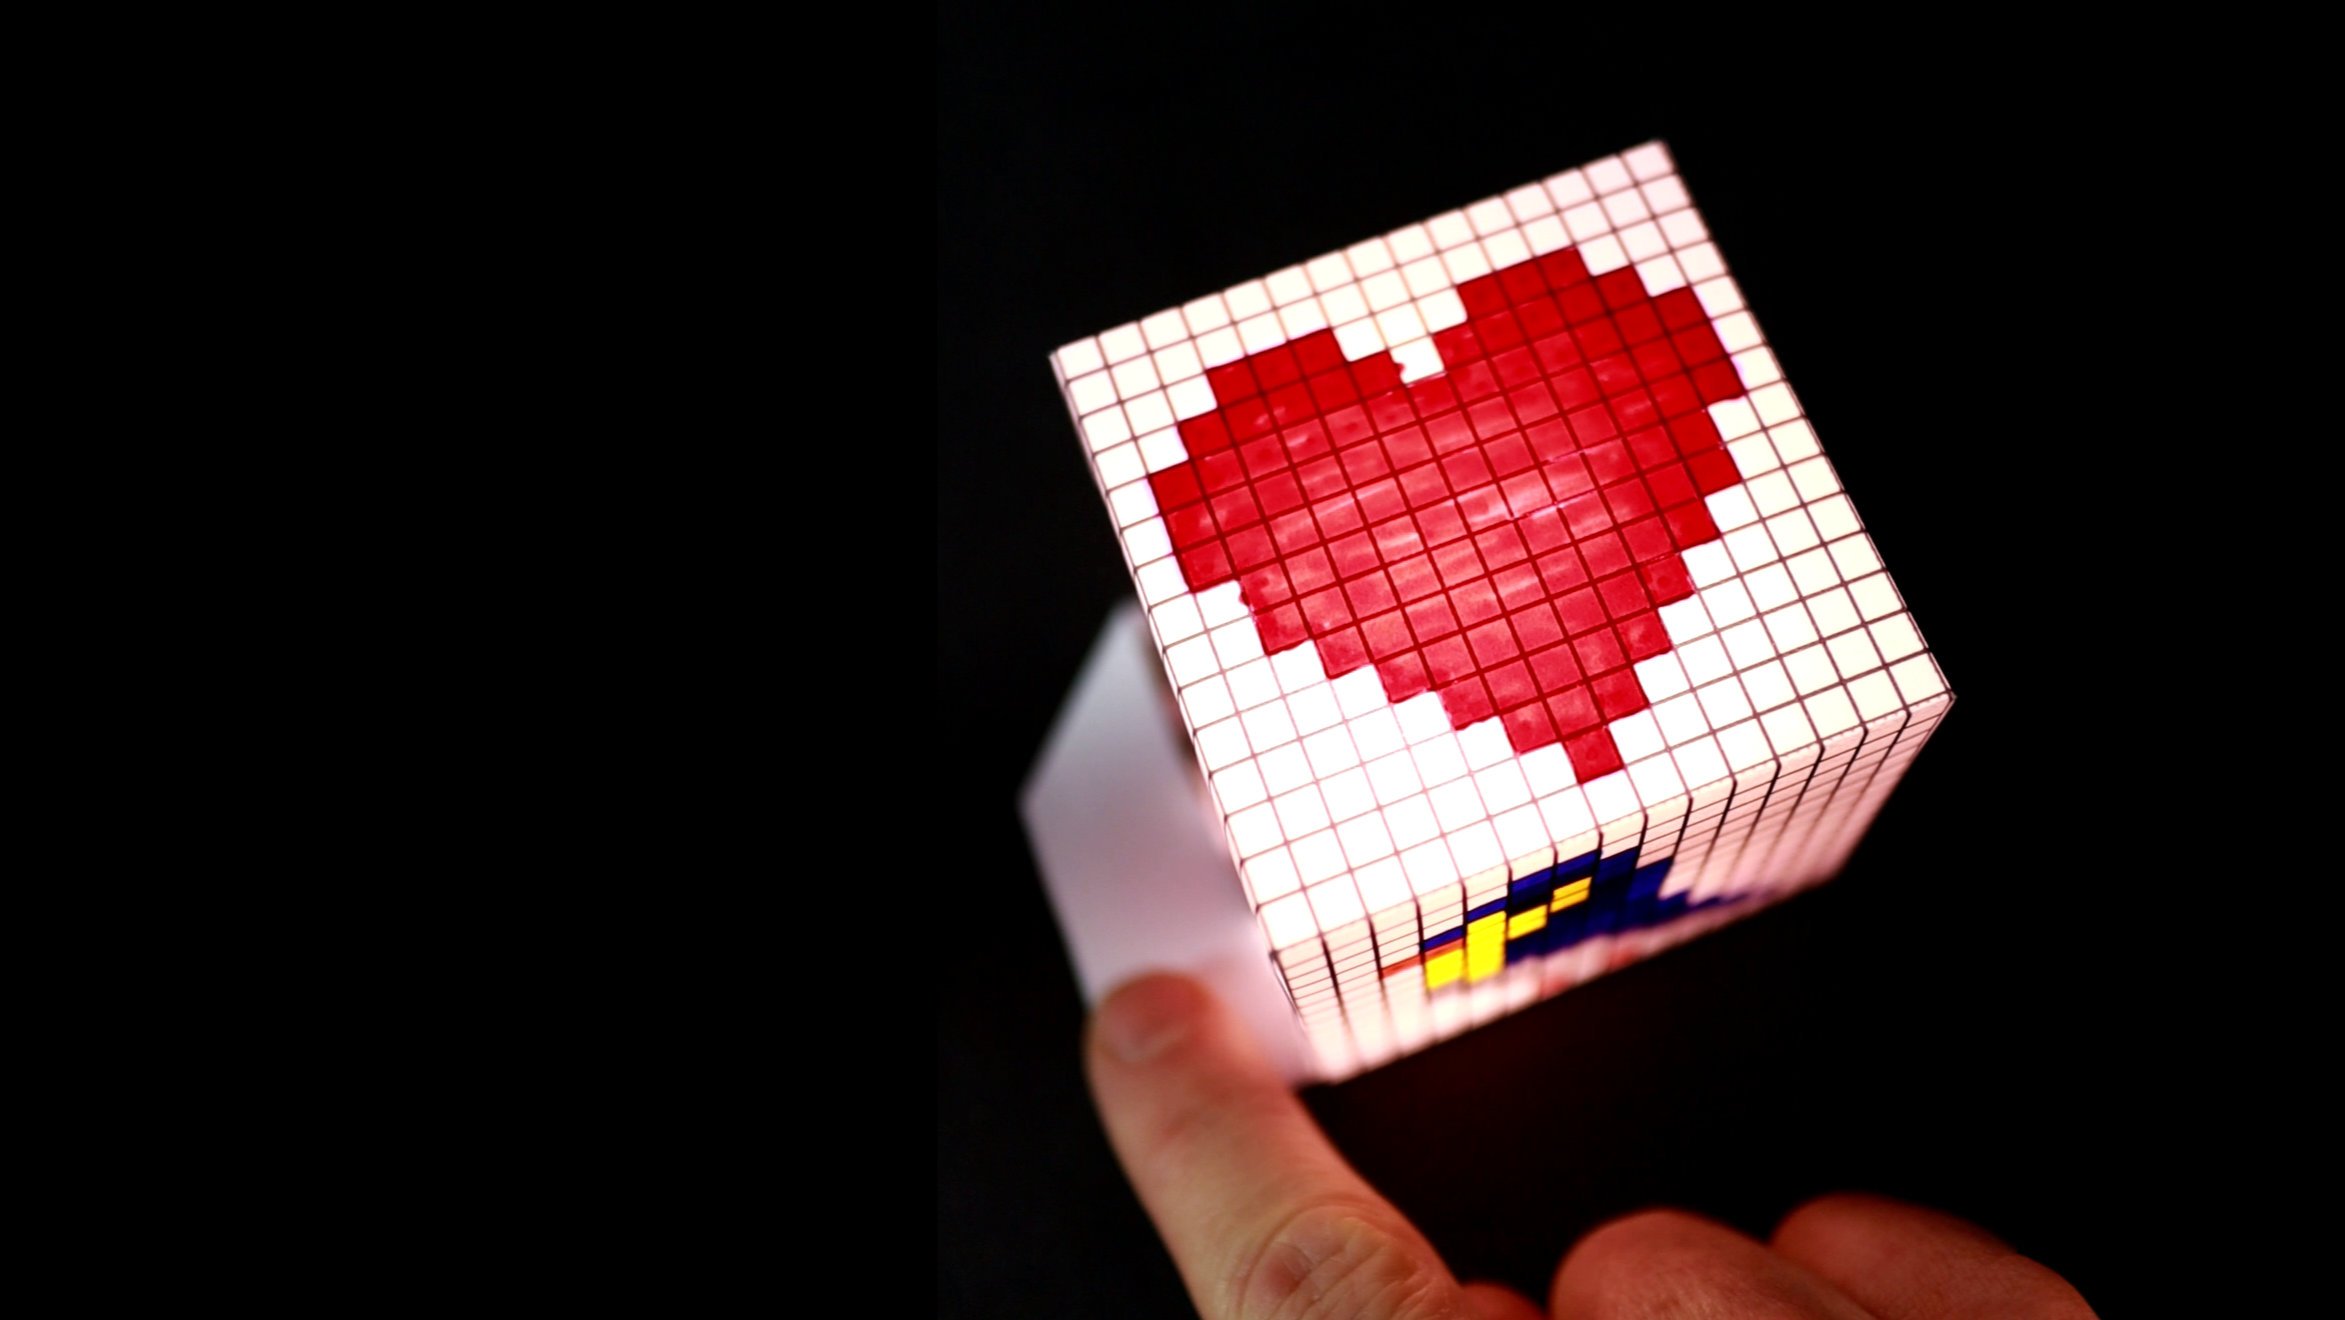
With this simple STEAM project, kids can create their very first LED circuit in no time and spend all their creativity making different designs for their LED cube!
I use pixel art for this project because it is a really fun process to express your imagination with just a few pixels. Also, pixel art is very easy to create and everyone can do it! No painting or drawing skills are required.
In Short:
Recommended age: 8 years and older
Skill level electronics: Very easy
Skill level paper crafting: Easy
Time needed: 90 minutes
Estimated costs per Cube: 2-5 euro/dollar (very cheap in large quantities)
Templates and Shopping List
Visit my Teachers Pay Teachers store to download my workshop kit.
Every download includes
All the templates you need for this project
My electronics shopping guide for this project
Detailed instructions on my Stress-Free Workshop page
My Easy Circuit template for experimentation
And much more!
Click here to download:
Digital Pixel Art for Kids
Variation 1
A faster, more joyful way to create pixel art
Check out this simple browser-based pixel art editor: https://www.pixilart.com
If kids first start the application they will be greeted by a short introduction to the features.
This editor is simple enough to show it to kids and make them create digital pixel art. I recommend starting with a small size like 15 by 15 pixels. This little constraint is really good for kids to keep designs simple.
For a start, check out my gallery. You can even edit my designs: https://www.pixilart.com/vps-art/gallery
Another great starting point for kids is to look through the stamp gallery inside the pixel art editor and start by editing one of the findings from there.
If kids have finished a design, the simplest method is to screenshot the design and place the design into my blank LED cube template (included in the download above) by using a free graphics application like gimp or krita. Join different designs onto one cube or duplicate the designs for each side of the cube. The last step is to print your newly created template. Set your printer to use lots of ink (strong coloring). That way, the designs will be most vibrant.
Once it is printed, kids can follow the steps from above to create their pixel art cube.
Minecraft-Inspired Pumpkin for Halloween
Variation 2
Super Simple Pixelart Variation
I used the Pixil Art editor to create a Minecraft-style pumpkin.
After printing the template, children can use a black marker to draw a spooky face on the pumpkin. Remember to use vegetable oil to make the paper more translucent.
Apart from the design, this variation is identical to the one above. It can be recreated by following the steps above! Here is a great inspiration for pixel art pumpkin designs.
The pumpkin template is included in the download available from my Teachers Pay Teachers store!
This work is licensed under a Creative Commons Attribution-NonCommercial-ShareAlike 4.0 International License.
If you want to use my work commercially, write me an e-mail.
If you use or share my work, please attribute VoltPaperScissors.com as the creator of this work and provide a clickable link where possible.
Find more information about me, my project, and the license I use here.


